
Penodau Fideo
00:03
Cyflwyniad - Sut mae PhotoRobot yn trin cynhyrchion gwydr?
00:12
Gweithfan Robotig - Case_850 Turntable
00:30
Y Gwrthrych a Delweddau i'w Cipio
00:44
Y dilyniant ffotograffiaeth
01:03
Ôl-brosesu a Chyhoeddi
01:26
Allbynnau sy'n deillio o hynny
Trosolwg
Darganfyddwch sut mae PhotoRobot yn trin ffotograffiaeth cynnyrch 360 o wrthrychau gwydr mewn llai na 60 eiliad gan ddefnyddio'r trofwrdd Case 850. Mae'r fideo hwn yn dangos sut rydym yn dal 24 delwedd llonydd a 360 cynnyrch, yn ôl-brosesu yn awtomatig, ac yn cyhoeddi delweddau ar-lein ar unwaith. Mae hefyd yn ateb cwestiwn cyffredin am PhotoRobot. Dysgwch sut rydym yn gallu tynnu lluniau o eitemau gwydr gyda systemau ffotograffiaeth agored, yn wahanol i atebion tebyg i flwch cystadleuol. Dilynwch y llif gwaith: o weithredu PhotoRobot Controls App, i dynnu lluniau o wobr gwydr, optimeiddio delweddau yn ôl rhagosodiadau, a chyhoeddi yn y cwmwl. Y cyfan mewn llai na 1 munud! Mae ein gweithredwr yn eich tywys trwy ddal i ddelweddau parod ar y we: gan gynnwys cnydio delweddau, canoli, a thynnu cefndir ar gyfer y we.
Trawsgrifiad Fideo
00:04 Mae pobl yn aml yn gofyn i ni sut mae PhotoRobot, gan ei fod yn ddyluniad agored, yn trin gwydr. Yn hytrach na dim ond siarad amdano, pam nad ydw i'n dangos i chi?
00:11 Ar gyfer hynny, byddaf yn defnyddio'r Achos 850 hwn gyda throfwrdd gwydr 85 cm. Mae hwn yn ddyluniad cludadwy, felly gellir ei blygu i fyny - a'i gludo hyd yn oed mewn car personol.
00:21 Rydym hefyd wedi gosod y porth arferol hwn gyda phabell babell dros dro wedi'i atal, yr ydym wedi canfod ei fod yn gweithio'n well na'r rhan fwyaf o atebion parod ar y farchnad.
00:30 Byddwn yn saethu sbin o 24 delwedd o'r wobr wydr hon a anfonwyd atom gan un o'n cleientiaid yng Nghanada. A byddwch yn gweld ei bod yn cymryd llai nag un munud i saethu, ôl-brosesu a chyhoeddi'r delweddau yn y cwmwl. Gadewch i mi roi hyn ar y trofwrdd.
00:50 OK, nawr gallaf fynd ymlaen a sbarduno'r dilyniant ffotograffiaeth. Byddwch yn gweld ei bod yn cymryd llai nag 20 eiliad i ddal y 24 delwedd hynny a'u llwytho i'r cwmwl.
01:03 Pan fydd hynny'n cael ei wneud, byddwn yn eu post-brosesu yn ôl y gosodiadau sydd wedi'u storio yn y preset. Gadewch i ni wneud hynny.
01:10 Nawr, rydych chi'n gweld bar cynnydd wedi ymddangos. Ac, pan fydd hynny wedi cyrraedd ei ddiwedd, byddwch chi'n gwybod bod y delweddau wedi'u torcio'n awtomatig, wedi'u canoli'n awtomatig ac mae'r cefndir wedi'i dynnu. Hynny i gyd yn y cwmwl ac yn barod i gael ei gysylltu o unrhyw nifer o dudalennau gwe.
01:27 Ac yn awr mae wedi'i wneud. Felly gadewch i ni edrych ar y canlyniadau. Rwy'n credu ei fod yn edrych yn wych. Diolch yn fawr iawn am wylio.
Gwylio nesaf
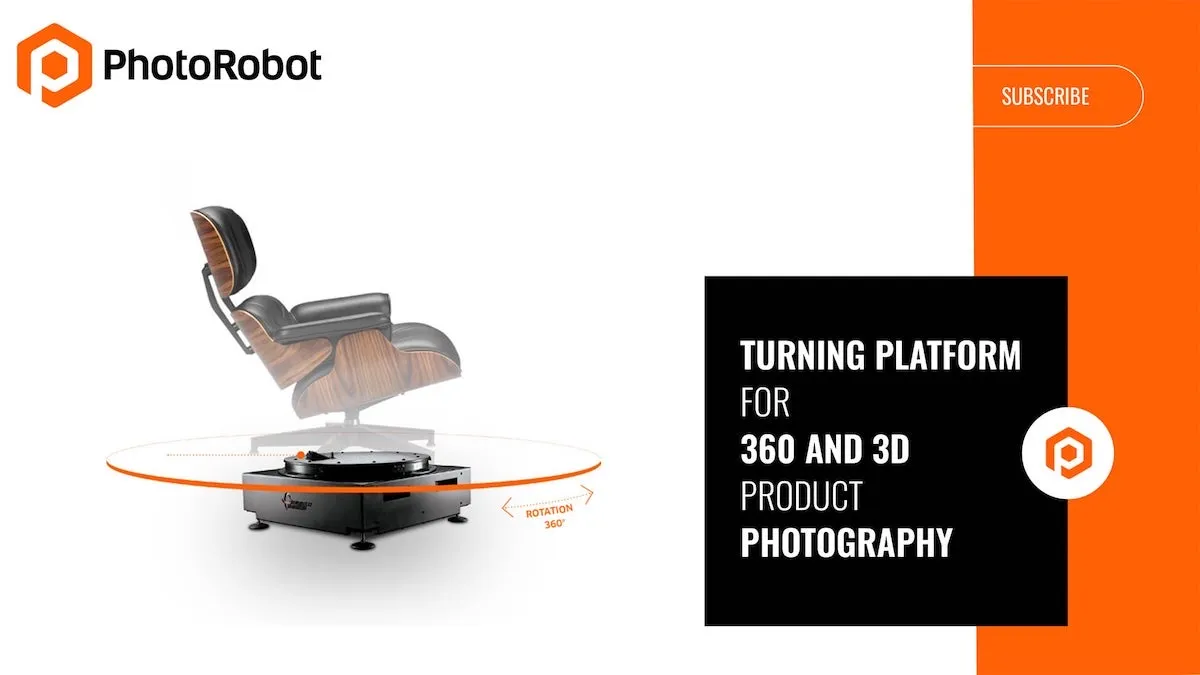
Gwyliwch drosolwg fideo o Blatfform Troi PhotoRobot ar gyfer ffotograffiaeth cynnyrch 360 o wrthrychau trwm ac ysgafn, mawr neu fach.
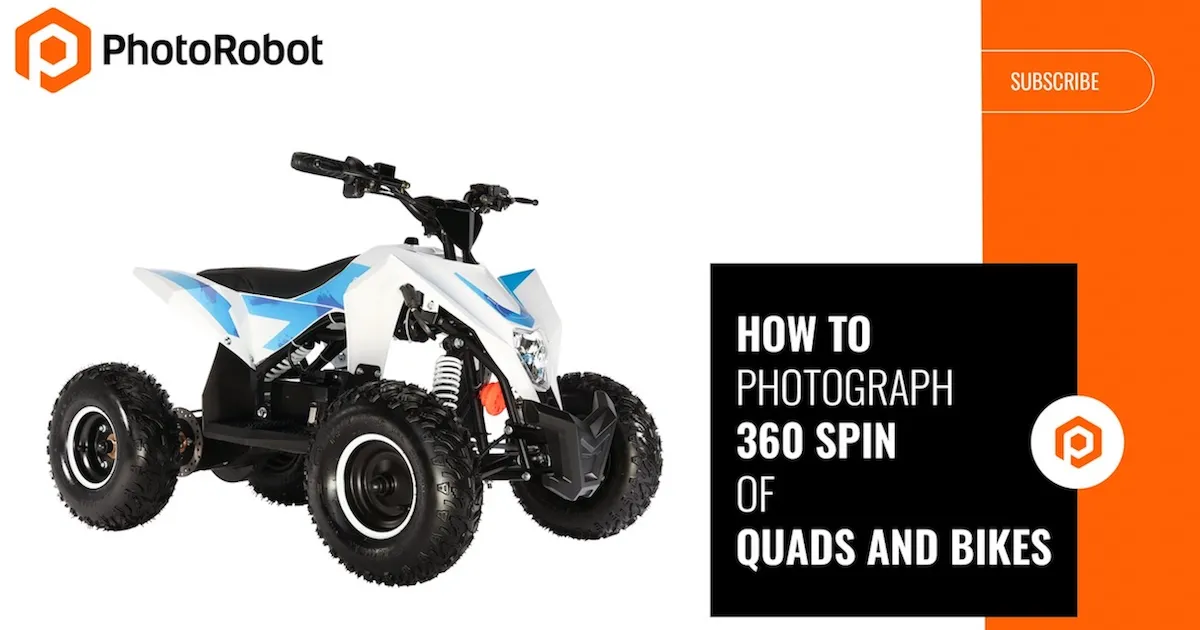
Gwyliwch ffilmiau o PhotoRobot Studio yn defnyddio'r Llwyfan Troi i dynnu lluniau o 360au o feiciau baw a chwadiau ar gyfer cwsmer.
Yn barod i lefelu ffotograffiaeth cynnyrch eich busnes?
Gofynnwch am demo arferol i weld sut y gall PhotoRobot gyflymu, symleiddio, a gwella ffotograffiaeth cynnyrch eich busnes heddiw. Rhannwch eich prosiect, a byddwn yn adeiladu eich ateb unigryw i brofi, ffurfweddu a barnu yn ôl y cyflymder cynhyrchu.
